Buffet Redux


I wanted to add a buffet to my dining room for a while, but was unable to find exactly what I wanted from retailers. Finally, I decided I could get something closer to my goal at a lower cost by purchasing and painting an old buffet. My initial idea was to buy a buffet for less than $200 and refinish it over the course of 2 weekends. That was in June. Since it is now January, you have probably already guessed that my timeline may have been a tad ambitious.
The Look:
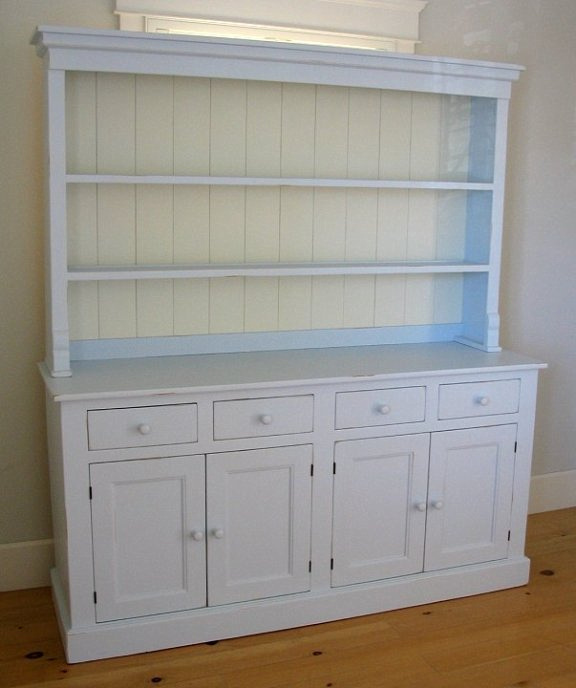
I really liked this Bradshaw buffet and hutch; but at nearly $3000, I felt I could find an acceptable DIY substitute.
Before:
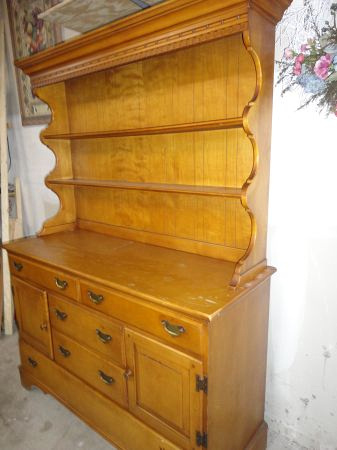
After some searching I bought this Pennsylvania House buffet locally for $150. It liked the overall style, the step-back hutch, and the crown molding at the top.
The finish has yellowed with age and was quite scratched up and grimy from years of use.
 Inspecting old cabinets:
It’s important to inspect an older cabinet before purchasing, as there are some items that cannot be easily repaired.
- Inspect drawers for loose dovetails. I needed to re-glue every drawer joint on this unit. This is simple to repair with Guerilla Glue and a pair of clamps.
- Look for cracks in the drawers. This is a difficult repair.
- Check drawer tracks. Drawers should slide easily and sit level.
- Press gently down and forward at the corners to determine if there are any loose or damaged joints.
- Finally make sure that none of the trim is warped or pulling away from the unit. Older trim cannot be easily matched and if one piece is damaged, you will need to pull off all of that trim and replace it with something new. And finding the right kind of trim at the big box stores may present a challenge.
Decisions, decisions, decisions…
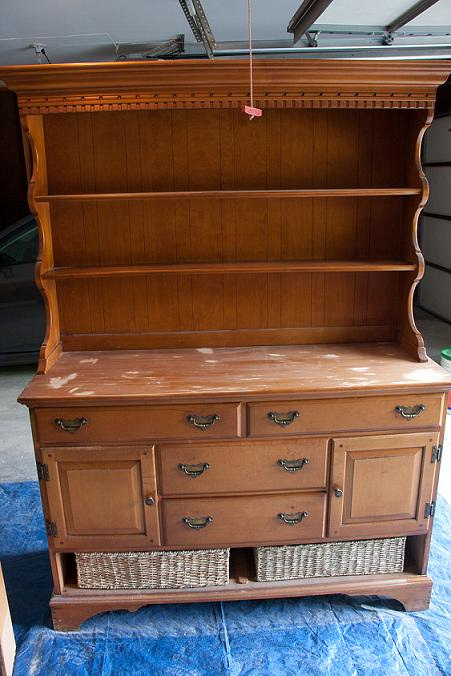 I decided to remove the bottom drawer and replace it with two baskets to make it look a little less heavy.
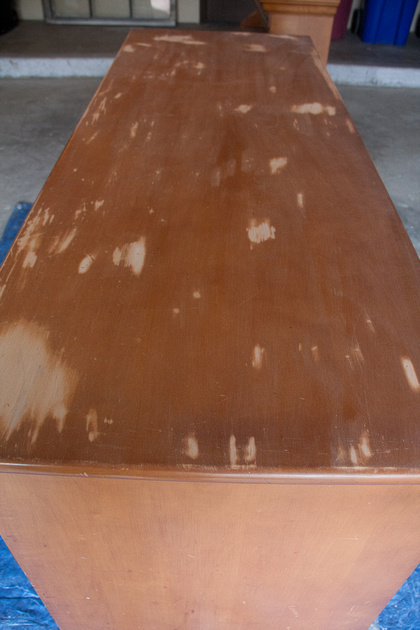
I began sanding the top, and ultimately decided I liked the look of the maple and chose to completely sand and refinish the top while I would paint the rest
Additionally, I considered going with chalk paint, but baulked at the $38.00 price tag. In the end, I would spend much more on paint and primer, so the chalk paint probably would have been worth it. The benefit is that I had a wider range of colors to choose from.

I settled on Ben Moore Watercolor Blue
and would use Insl-X cabinet paint with
Flowetrol.
Prep:
I was really anxious to start painting and to see it all coming together, but before I could do that, I needed to clean the cabinet with Dirt-X. This is a miracle cleaner and got the buffet looking almost new. It also helped delaminate the old finish, so I did not need to sand it.
TIP!: I chose to paint with primer first. After talking with someone at Insl-X, I was advised that I could have painted straight on top of the delaminated finish.
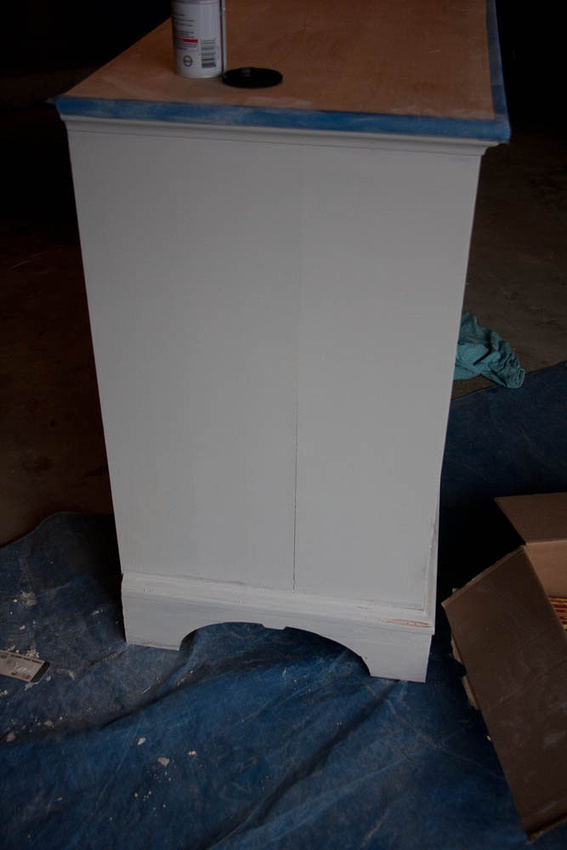
After sanding the top, I filled a crack in the side of the cabinet which was showing clearly in the lighter paint.
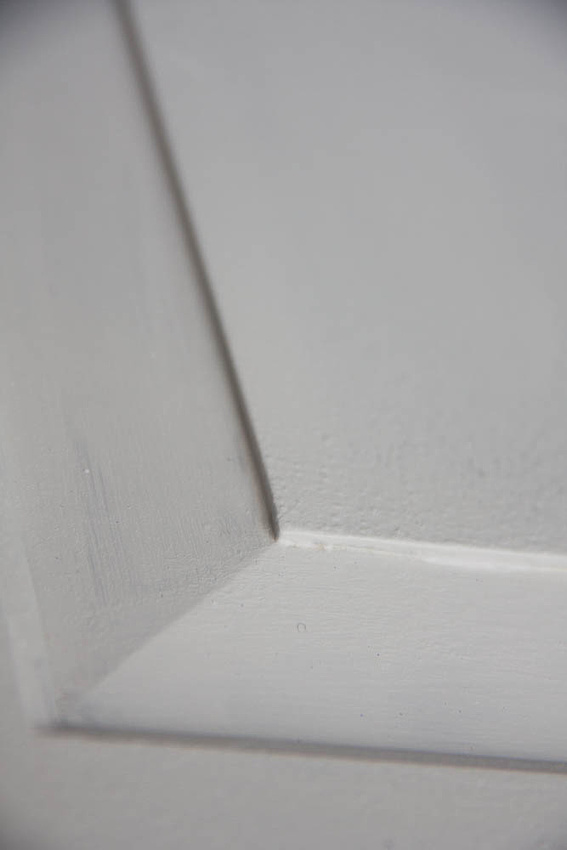
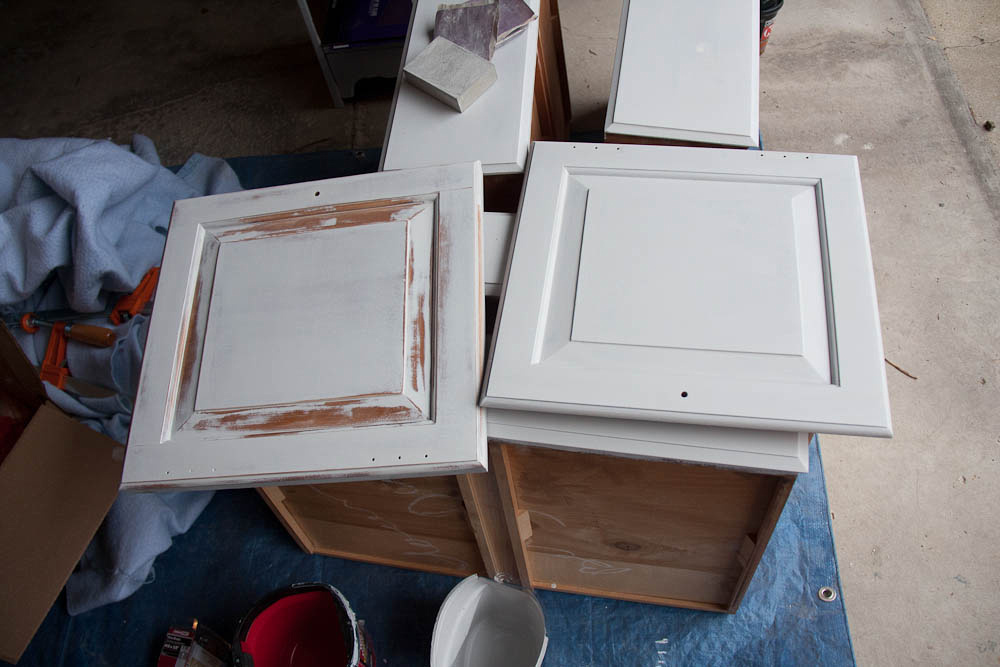
Getting the primer on evenly was a challenge. The first brush I tried was a $17 professional brush by Purdy. This was terrible and left many brush marks.
I tried a large variety of brushes and the best were a combination of Whizz foam rollers and 1-2” soft bristle art brushes that I bought at Hobby Lobby. After each primer application I had to do a pretty good sanding, and a couple times needed to sand it completely back and start again.
Painting & Staining:
Finally, ready to paint! Again, I used a combination of art brushes and foam rollers. If I had it to do again, I probably would have just invested in a sprayer. All in all, I can safely say that you should leave brushes sold by professional paint stores on the shelf. For furniture, you need a much softer brush than anything used to paint rooms.
I stained the top and it came out all right. Getting the right color and worrying about whether the top would take the stain evenly – not to mention, this was my first time staining anything – made me a bit nervous, but it turned out well.
What’s left to be done?
I got the painting finished just in time for winter to set in. I have a few tasks to complete in the spring, including finishing the bottom opening where the baskets are placed, painting the hutch, which will be water color blue with a country white backing, and I need to add a few more coats of poly to the top.
I also need to decide about the hardware placement and which of these chairs I like better.
So after spending nearly every weekend for 4 months, I am 75% finished with this project. It was fun, and I’m glad I did it, but this is probably my last project of this sort.
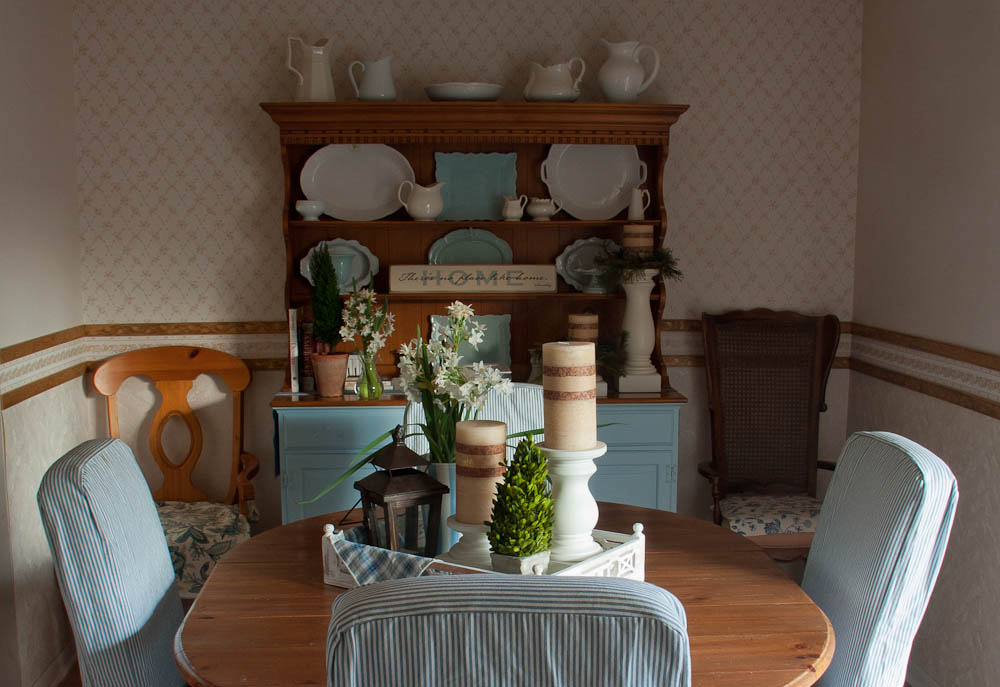
Pièce de résistance
I painted the hutch frame in Watercolor Blue and painted the back panel in creamy white color. I kept the Biedermeier arm chairs and recovered them in a blue striped fabric. Now in my new house, I just need to choose a wall color.
